Transform Your Space: The Power of Smart Lighting
Discover how to effortlessly enhance your home environment with smart lighting solutions. These innovative systems offer convenience, efficiency, and style, allowing you to easily create the perfect ambiance for any occasion. Let’s unlock the potential of your space with six simple steps to upgrade your lighting!
What You’ll Need for Your Smart Lighting Upgrade
Step 1: Assess Your Lighting Needs
What’s Your Lighting Style? Let’s Find Out!Evaluate your current lighting. Walk through each room and take note of areas that feel dim or overly bright. Consider what activities you perform in these spaces—are you reading in the living room, cooking in the kitchen, or enjoying a cozy movie night?
Identify your lighting types:
Document your findings. Create a checklist or take pictures of each room to highlight areas needing improvement. This process will help you visualize which spaces require better lighting and what kind of smart solutions can meet your needs. Once you know what you’re working with, you’ll be ready to explore the best smart bulbs available!
Step 2: Choose the Right Smart Bulbs
Not All Bulbs Shine the Same: Pick Wisely!Research different types of smart bulbs. Start by understanding the options available in the market. Here are key factors to consider for selection:
Visualize the effect. Imagine hosting a dinner party with adjustable mood lighting or winding down in a cozy, dimly lit space. Choosing the right smart bulbs enhances the functionality and style of your home!
Step 3: Set Up Your Smart Lighting System
Get Connected: It’s Like Magic!Install your smart bulbs. Start by turning off the power to the fixtures where you’ll be replacing your traditional bulbs. Remove the old bulbs and screw in your new smart bulbs securely.
Download the necessary app. Most smart bulbs come with a specific app provided by the manufacturer. For instance, if you’re using Philips Hue, you’ll need the Philips Hue app. Download and install it on your smartphone or tablet.
Connect to Wi-Fi or a hub. Open the app and follow the prompts to connect your smart bulbs to your Wi-Fi network or home automation hub. Usually, this involves creating an account and selecting the appropriate network.
Pair your bulbs. Depending on the app, you may need to search for your bulbs to pair them with the application. Make sure to have your phone close to the bulbs for a successful connection. Once paired, the app will often show a confirmation that the bulbs are successfully linked.
Test your setup. Turn on the bulbs using the app to ensure they’re functioning properly. Experiment with turning them on and off and adjusting brightness to confirm everything’s set up correctly. Enjoy your newly integrated smart lighting!
Step 4: Customize Your Lighting Scenes
Your Mood, Your Control: Create the Perfect Atmosphere!Utilize the app to create personalized lighting scenes. Open your smart lighting app and look for the “Scenes” or “Customize” section. Here, you can design specific moods for different activities that resonate with your lifestyle.
Create scene presets: For instance, when unwinding with a book, set a warm, soft glow by dimming the bulbs to 30% brightness and selecting a color temperature of around 2700K. Label this scene “Reading Nook.”
Tailor to activities: Have a movie night planned? Create a “Movie Time” scene with dimmed, darker lighting or even a cool blue hue. For hosting guests, design an “Entertaining” scene that lights up your living room with vibrant colors and brightness to create an inviting atmosphere.
Save your scenes: Once customized, don’t forget to save these presets within the app. This way, with a single tap, you can transition easily between your customized lighting scenes based on your activity.
Experiment with transitions: Some apps allow you to create gradual transitions between scenes. For instance, slowly fade your “Good Night” scene from a warm glow to complete darkness to enhance relaxation before sleep.
With these steps, let your lighting work for you, enriching your daily life and surroundings!
Step 5: Automate Your Lighting
Lights that Know You: Embrace the Future!Schedule your lights. Open your smart lighting app and navigate to the automation settings. Set specific times for your lights to turn on and off daily. For example, program your living room lights to gradually brighten at 7 AM to mimic a natural sunrise, easing you into your day.
Integrate motion sensors. Consider adding motion sensors to your setup. These devices will automatically turn lights on when someone enters a room and off when they leave. Perfect for the hallway or bathroom—no more fumbling for the switch!
Utilize geofencing. Many apps offer geofencing capabilities, allowing your lights to respond as you arrive or leave home. For instance, have your porch lights turn on when you’re within a certain distance from your house, providing a warm welcome.
Create scenes with automation. Combine your automation with your previously set scenes. Imagine coming home to your “Relaxation” scene already set, with soft lighting perfectly adjusted to usher you into a peaceful evening.
Test your automation. After setting everything up, monitor your system for a week. Adjust schedules or sensor sensitivity as necessary to ensure seamless integration into your daily routine. Embrace the ease of smart lighting!
Step 6: Explore Advanced Features
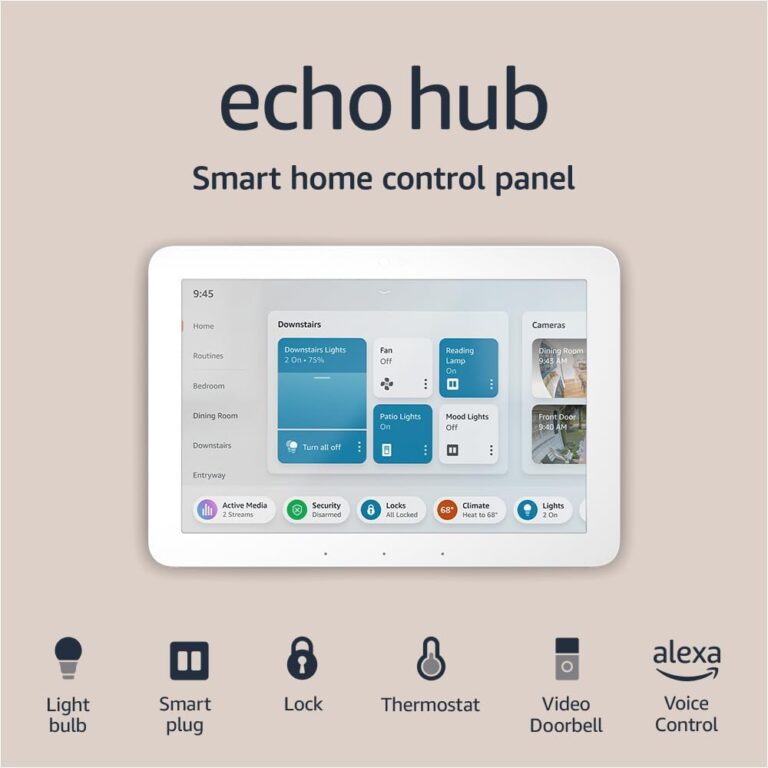
Unlock Hidden Gems: Beyond Basic Control!Discover voice control options. Activate your smart lighting with voice commands using platforms like Amazon Alexa or Google Assistant. For example, simply say, “Turn on the living room lights,” to illuminate your space hands-free.
Integrate with other smart devices. Link your smart lights to other smart home systems for enhanced automation. If you have a smart thermostat, set it up to dim lights when the temperature drops, creating the perfect cozy atmosphere.
Leverage IFTTT (If This Then That) for custom automations. Use IFTTT to create unique automations based on everyday triggers. Imagine your lights turning on whenever your favorite sports team scores a goal or changing colors when you receive a message on your phone. Set this up by creating an account and following recipes that suit your lifestyle.
Experiment with music sync features. Some smart lighting systems can synchronize lights with your music. Connect your system to your favorite music app and watch your lights dance in rhythm, perfect for parties or game nights!
Stay updated with firmware and app upgrades. Regularly check for updates on your smart lighting app. Upgrades often enhance features and security protocols, ensuring your system runs smoothly and efficiently.
By diving into these advanced features, maximize your smart lighting system and create a space uniquely tailored to your lifestyle!
Light Up Your Life: The Smart Way Forward
By following these six easy steps, you can effortlessly transform your space with smart lighting that elevates both style and function. Embrace this innovative change, share your results, and inspire others! Start your smart lighting journey today and light up your life!

I found the guide super helpful, but I’m still a bit confused about which bulbs to choose. Can someone give me a quick rundown on the best options?
I can help with that! I just got the Philips Hue bulbs and they work like a charm! Just make sure your fixture can handle them.
Hey James! For starters, look for bulbs that are compatible with your smart system, like Philips Hue or Wyze. They’re pretty popular!
This article is great, but I feel like it’s missing some troubleshooting tips. I faced a few hiccups while setting mine up. Maybe next time? 🤔
I had issues connecting mine too! Resetting the bulbs worked for me, maybe that could help you!
Thanks for the feedback, Rick! Troubleshooting tips could definitely be a future addition. What issues did you face?
I’m super excited to explore the advanced features! I’ve heard about geofencing and voice commands. Anyone had good experiences with those?
Voice commands are life! I can just say ‘turn off living room lights’ and voila! No more lazy struggles. 😂
Geofencing is a game-changer! It automatically turns on/off lights based on your location. Super convenient!
Just finished automating my lighting and, OMG, it’s like I’m from the future! 😂 No more fumbling for switches in the dark! But honestly, do we need to turn the lights off manually sometimes?
I just leave mine on sometimes, it’s like a light show in my house! But yeah, it’s nice not having to get up at night.
Haha, welcome to the future! You can set schedules so it turns off automatically, but you can always override it if need be.
I’ve just started with smart lighting and I’m a bit overwhelmed. The customization part sounds fun, but also a bit complicated. Are there any easy templates to follow?
Hey Liam! Most apps have preset scenes you can choose from to get you started. Just explore the settings!
Definitely! I started with the ‘Cozy’ preset and tweaked it from there. Super simple!
This guide was informative, but I really wish it had visuals. A few pics or diagrams would help a ton! Anyone else think so?
Totally agree! I’m a visual learner, and seeing the setups would help me a lot!
Good point, Ben! Visuals can make a huge difference. We’ll consider that for future updates!
Wow, I never thought smart lighting could be this easy to set up! I love how I can change my living room’s vibe just with a few taps on my phone. Just did the customization part and it feels like I’m living in a movie! 😍 Anyone else tried different scenes yet? What’s your favorite?
I love the idea of a movie scene! 🎬 I’ve been wanting to try that out, too!
Hey Sarah! I just did the sunset scene in my room, it’s so relaxing! 🌅 Definitely feels like a mini vacation at home.
Glad to hear you’re enjoying it, Sarah! Custom scenes really do elevate the experience. What colors are you using?
Just upgraded my space and wow, the difference is insane! My friends can’t stop raving about the different moods I can set. 😄 Anyone else notice how much it helps with ambiance?
That’s awesome, Jasmine! Smart lighting does wonders for creating the right vibe.
Totally! It’s like having a mood ring for your house! 😂 What scenes have you set up?